

Knowing how to clean breast pump parts correctly protects your milk supply workflow and reduces the chance of bacteria or mold where you cannot afford surprises.
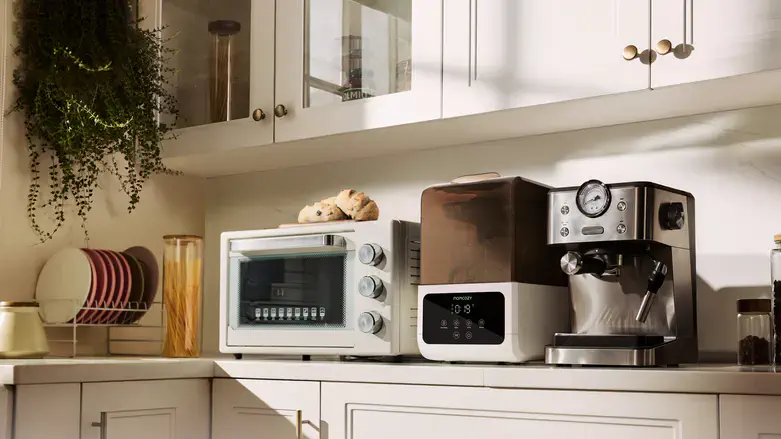
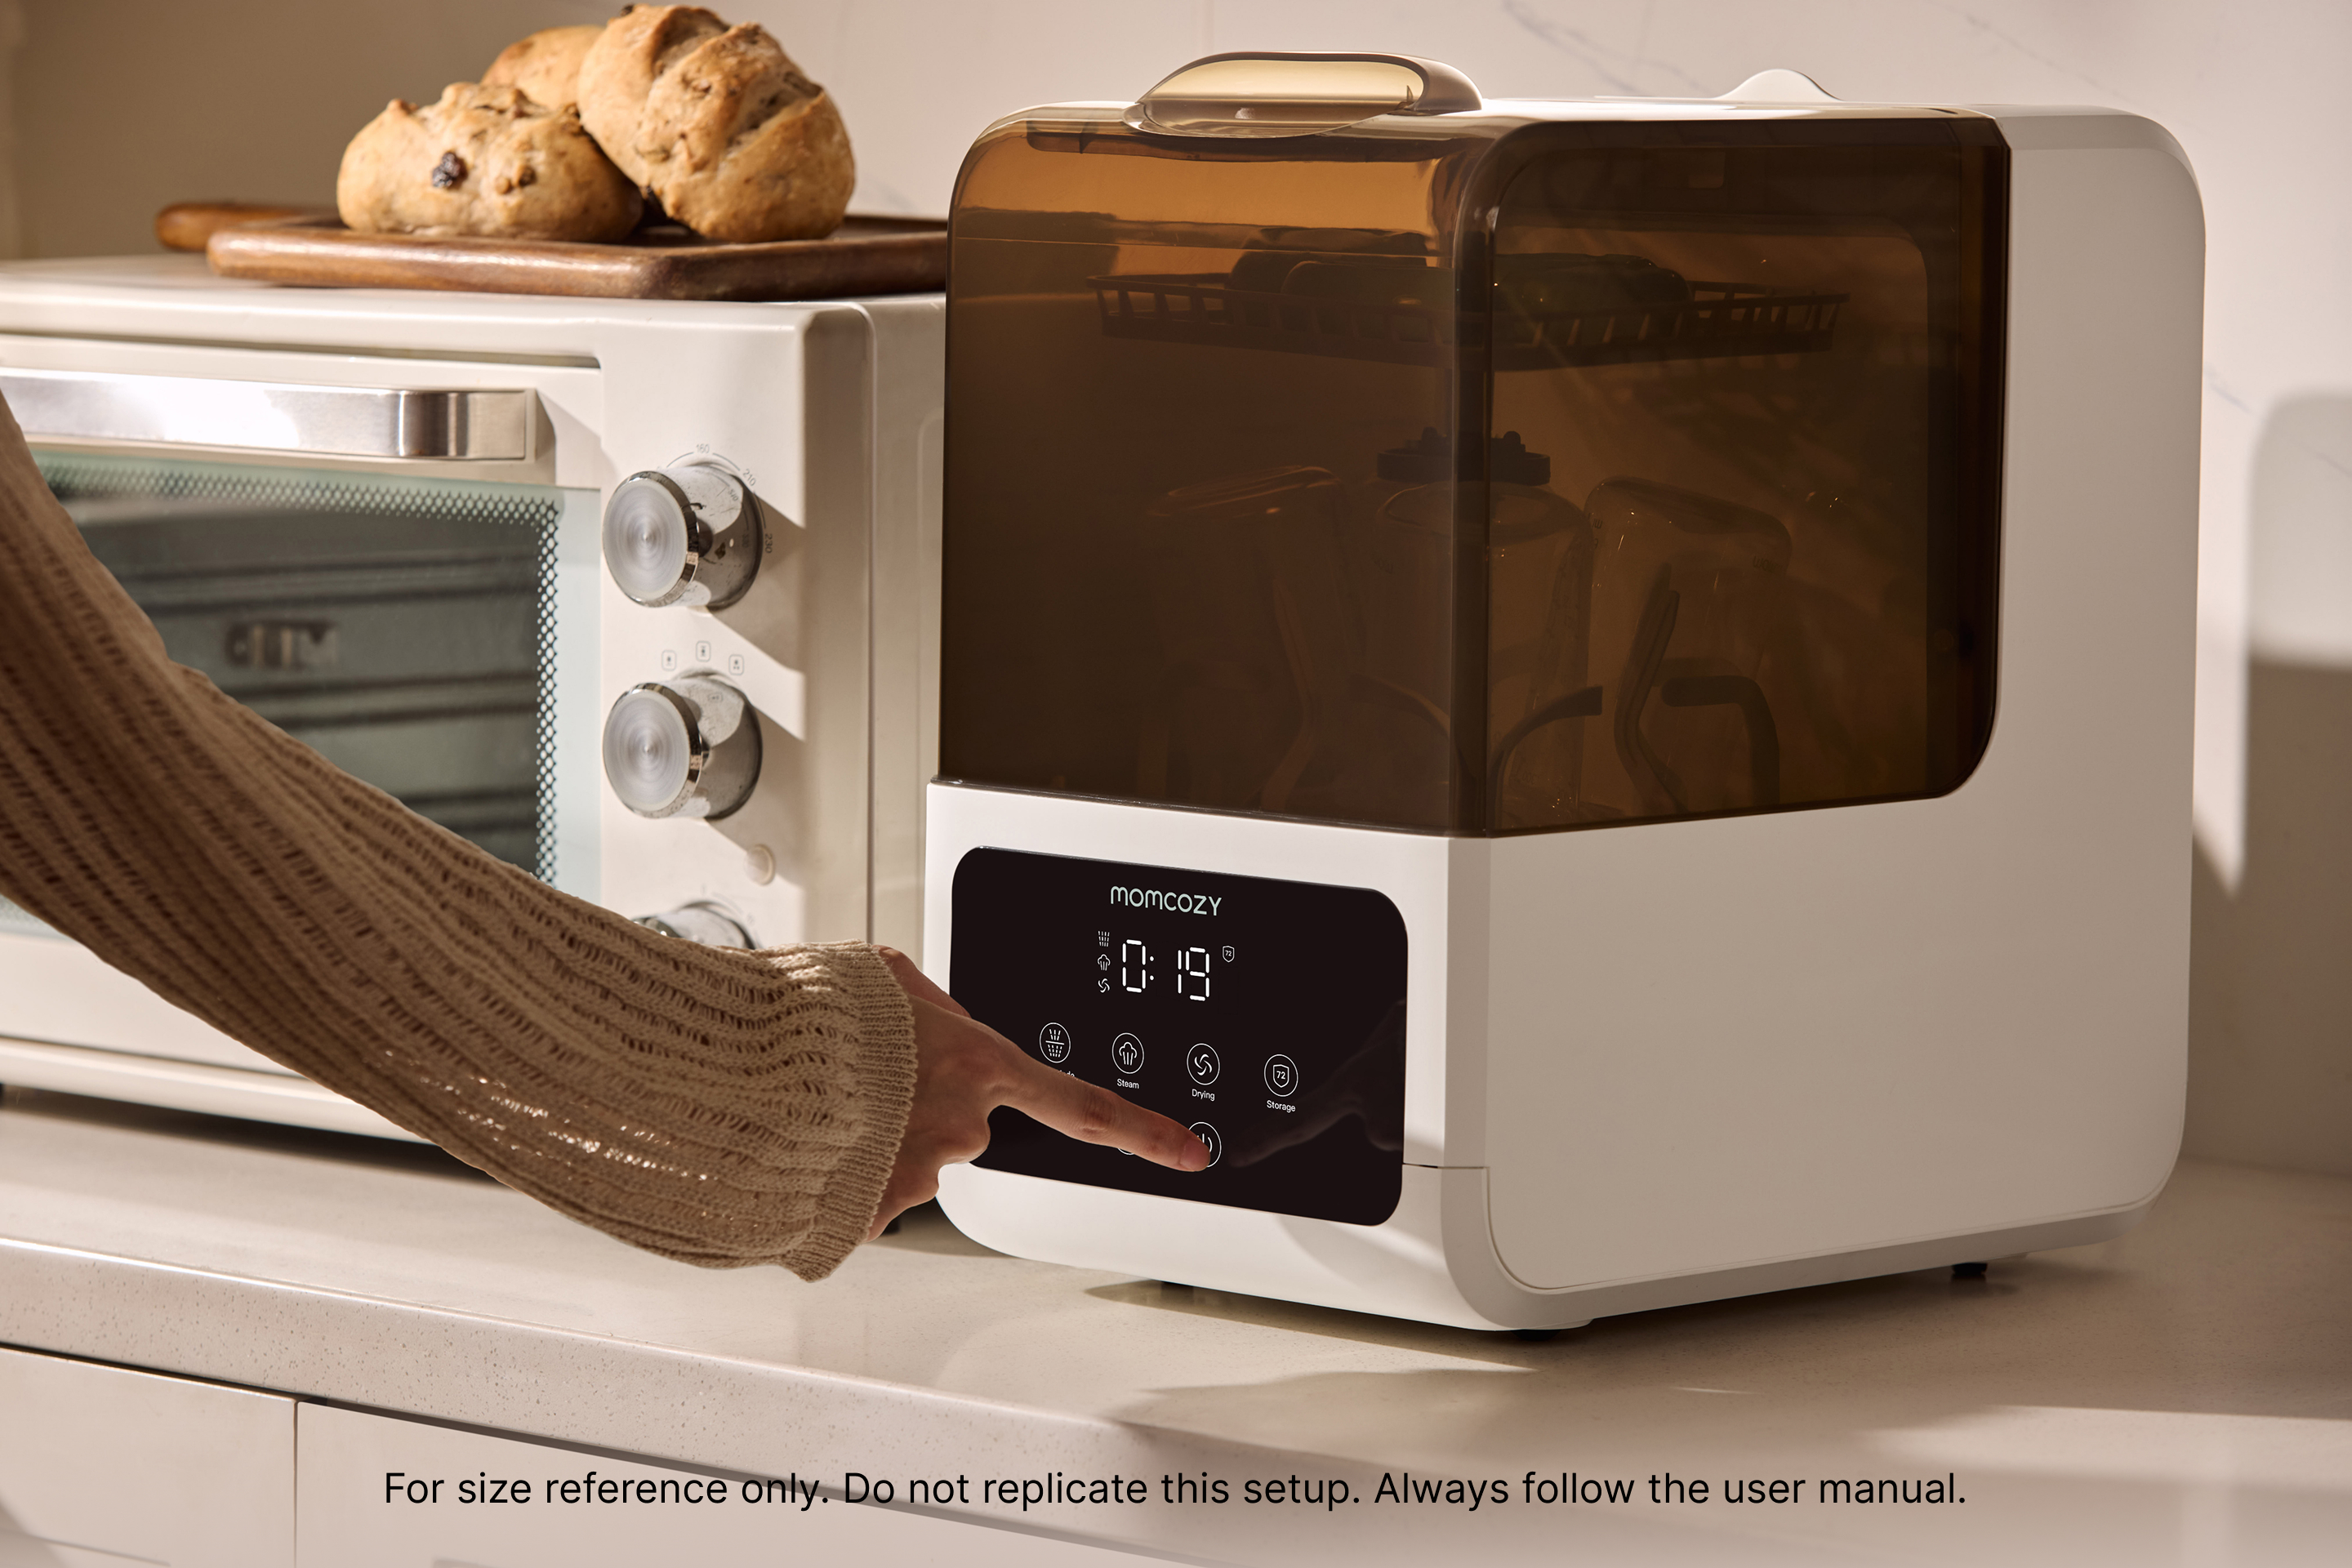
The baseline is straightforward: take apart every milk-contact piece, wash with soap and water after each use, rinse fully, air-dry, and sanitize when your baby’s age, health, or your clinician’s advice calls for extra heat. Families who pump often sometimes use a countertop unit such as the Momcozy DeepClean Lite washer for bottles and pump parts so wash, steam sanitizing, and drying happen in one closed cycle-useful when hand-scrubbing valves at midnight is not sustainable.
This guide covers disassembly, safe detergents, drying rules, mold response, and how often “rinse and reuse" crosses the line-without replacing advice from your pediatrician or lactation specialist.
Why Pump Parts Need Their Own Routine
Residual milk in a valve or flange crevice feeds bacteria quickly in warm, moist plastic. Pump parts are not “less dirty" because they never held formula powder - they held body-temperature milk with natural flora. Treat them like any other infant feeding equipment: clean after every session, store dry, and inspect for wear.
Exclusive pumping, combo feeding, and back-to-work schedules multiply pieces in the sink. Skipping one connector because it “looked clean" is how odor and film spread through the whole kit. Consistency matters more than brand of pump.
What to Wash After Every Pumping Session
Follow your pump manufacturer’s diagram. Typically, milk-contact items include breast shields (flanges), valves, membranes, backflow protectors, connectors, and collection bottles. Tubing usually does not touch milk directly on closed systems - if milk entered tubing, replace it per maker instructions rather than guessing at a scrub.
Separate parts before rinsing. Cold or lukewarm rinse right after pumping prevents milk protein from drying like glue. Then wash in a basin used only for feeding gear-or a clean sink you just scrubbed-not a basin that held raw meat prep.
Skip the all-purpose kitchen sponge if it also scrubs greasy pans. A brush used only for bottles and pump kits keeps cross-contamination out of the equation when counter space is shared with the rest of family meals.
Hand-Washing Steps That Actually Reach the Gaps
● Wash hands for 20 seconds before handling clean parts.
● Use hot water and a small amount of mild, fragrance-free dish soap.
● Scrub with a dedicated bottle brush or nipple brush; poke vents and valve seats.
● Rinse under running water until suds and milk film are gone.
● Air-dry on a clean towel or rack-no fabric that sheds lint into valves.
● Reassemble only when fully dry, or store disassembled in a clean, covered container.
Do not towel-dry the inside of small valves; lint blocks suction and can harbor germs. Let air do the work.
Sanitizing vs Daily Washing
Washing removes residue; sanitizing uses high heat after a proper wash to knock down remaining germs. Many families sanitize pump parts daily during the newborn months, after illness, or when parts were left unwashed too long. Older healthy babies may move toward meticulous washing every session plus sanitizing on a schedule your care team approves-especially if bottles and pump parts share a household with uncertain water quality or crowded living quarters.
Boiling, microwave steam bags, and countertop steam cycles are common methods when manufacturer labels allow. Always wash first; steam alone does not dissolve stuck milk.
Pumping at Work, Travel, and Shared Kitchens

Bring enough spare parts to get through the workday if you cannot wash at the office, or use a sealed wet bag for “used" and “clean" separately-never mixed. Quick rinse plus refrigeration of parts is sometimes a stopgap until you reach a proper sink; check official pump guidance and local food-hygiene norms for expressed milk storage, then still fully wash before the next assemble.
In tight kitchens-common in urban flats or multigenerational homes-batch washing after the last session beats leaving flanges on a dish mat through dinner prep. Keep pump gear on a tray you can move off the counter when it is time to cook.
Label bags if more than one caregiver handles the pump. A flange mixed into someone else’s “clean" bottle drying rack is a small mistake with an annoying reset: full re-wash, lost time, and sometimes a missed session.
Inspect and Replace Before Suction Quietly Fails
Valves and membranes wear out. If you need stronger vacuum than usual, hear extra sloshing, or see milk backing into places it never reached before, inspect for cracks, stretching, or invisible film in the valve seat. Worn parts hold bacteria even when they look rinsed-clean.
Replace on the schedule the pump maker suggests-or sooner if you pump more than the “occasional user" chart assumes. Cloudy silicone, sticky texture, or permanent odor means retire the piece, not another boil cycle.
Keep a spare valve kit in the diaper bag or desk drawer. The cost of one emergency kit beats a day of underperforming suction because a two-dollar membrane split during travel.
What Countertop Bottle Washers Do for Pump Kits
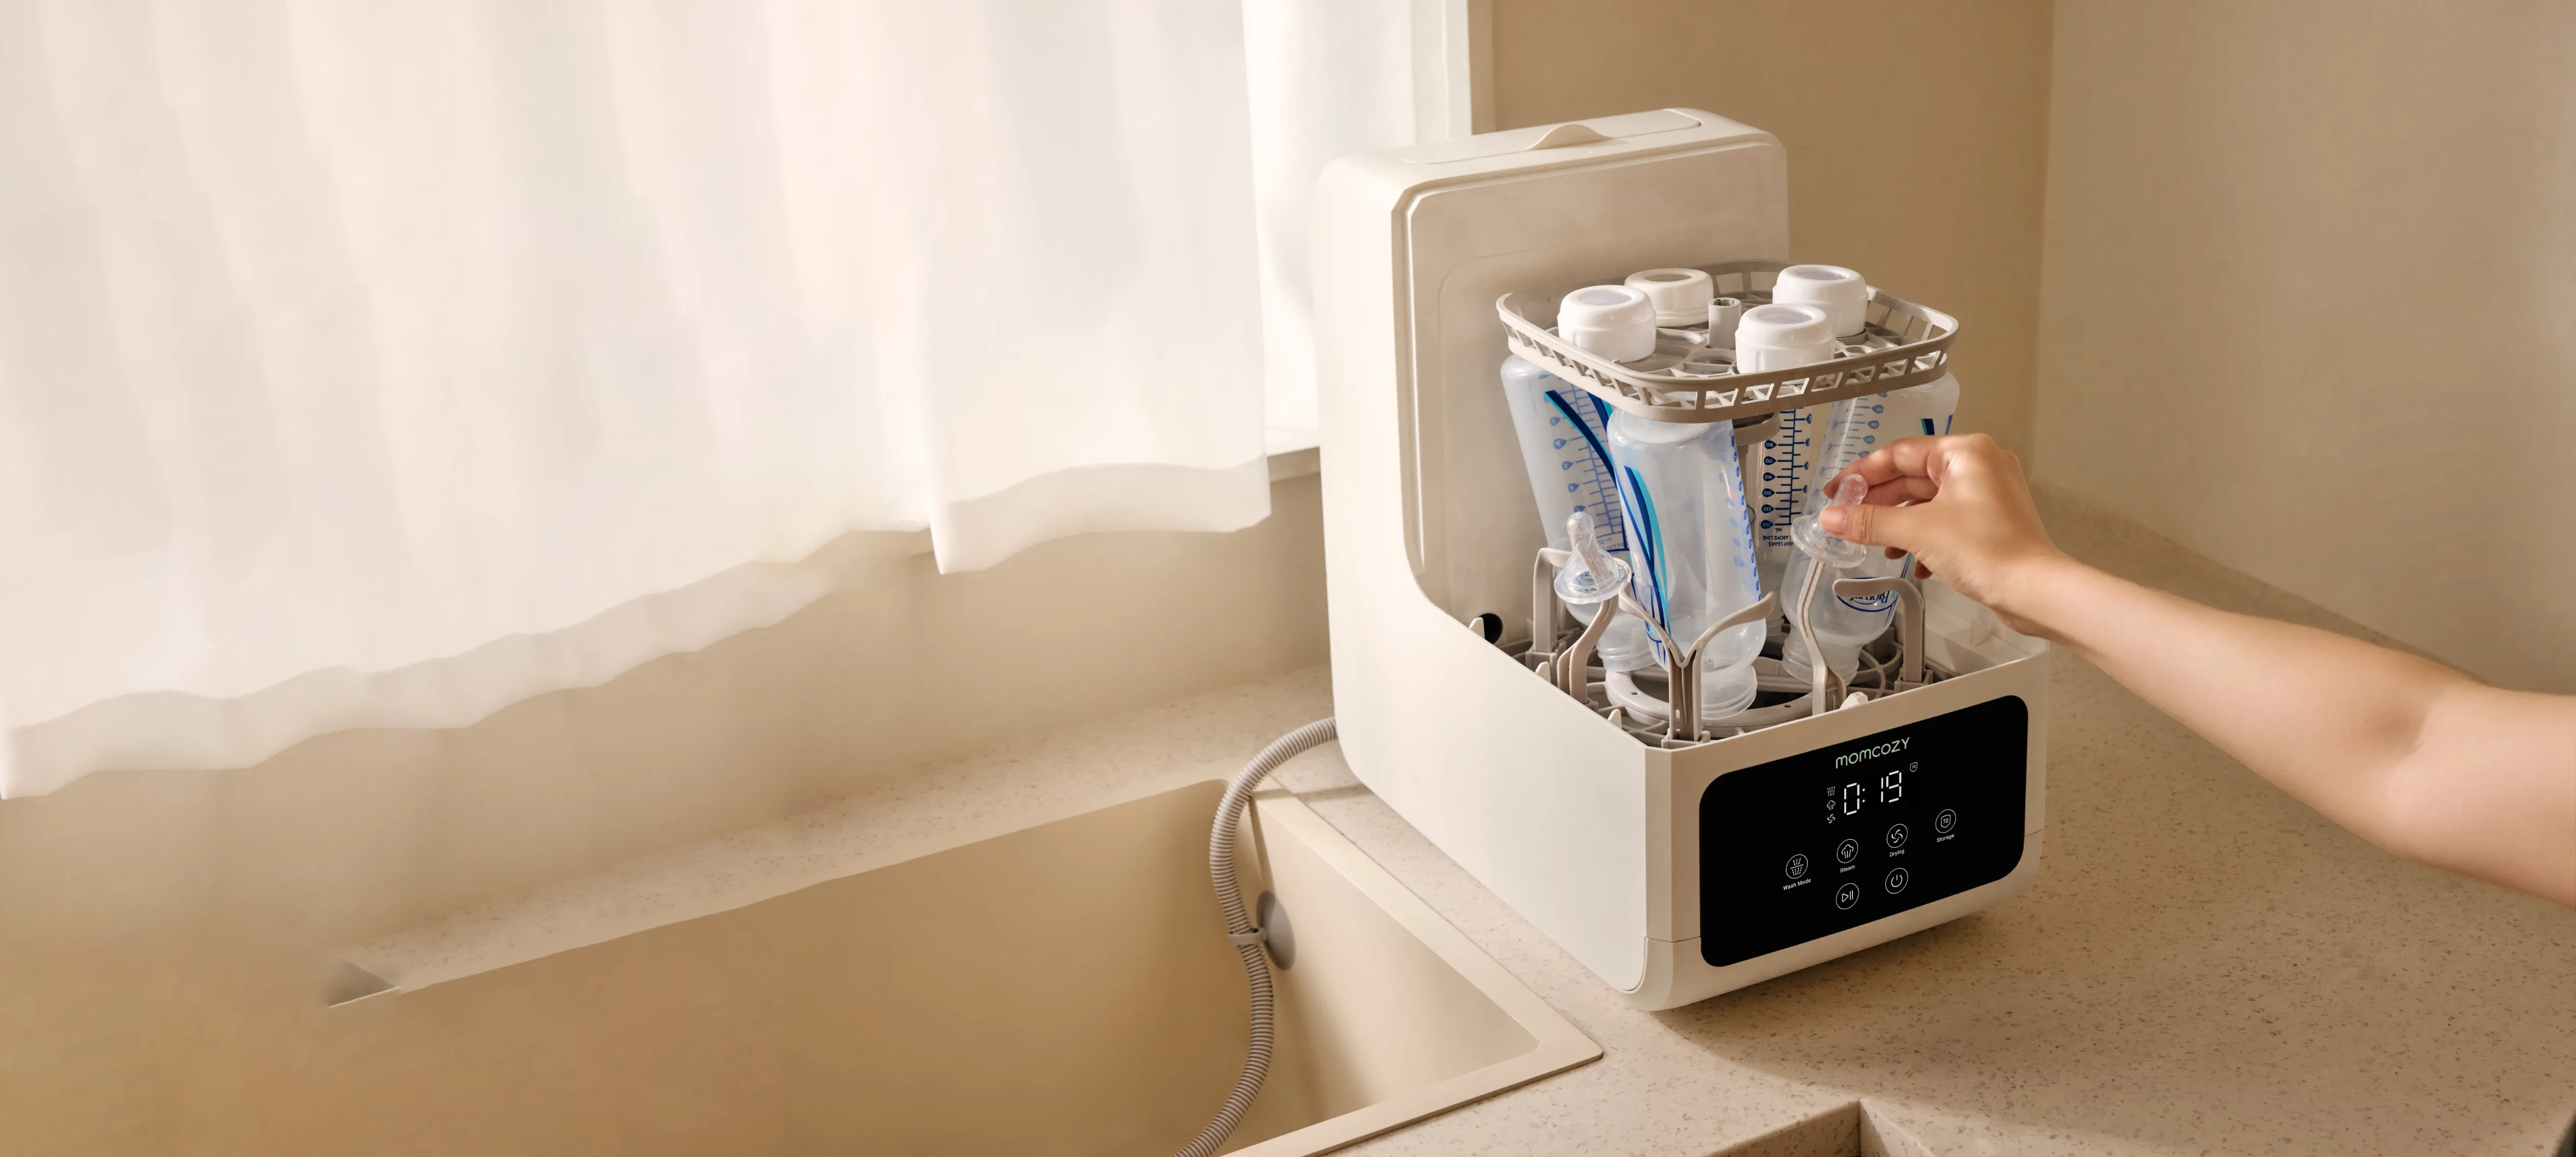
Dedicated bottle washers are enclosed appliances for infant feeding equipment, not general dishes. Many models include zones for nipples, bottle bodies, and pump flanges or connectors. A typical cycle combines targeted washing, steam sanitizing, and forced-air drying so parts are not dripping on a shared rack beside other family dishware.
They do not replace reading your pump manual, replacing torn membranes, or discarding moldy pieces. They reduce variation when you are too tired to trust your own scrub routine at 2 a.m.
If bottles and pump parts share a household, run them through the same hygiene standard-not sparkling bottles beside “quick rinsed" flanges. Mixed standards are how families feel diligent while missing the piece that actually touched the most milk volume that day.
FAQ
Can you use Dawn dish soap to clean breast pump parts?
Many parents use a mild dish soap such as Dawn with a thorough rinse, especially when it is the fragrance-free or sensitive-skin variety they already trust for bottles. If soap film remains or baby seems fussy after feeds from freshly washed parts, switch products or rinse longer. Avoid mixing bleach or other chemicals unless the pump manufacturer explicitly allows it.
Do breast pump parts need to be washed after every use?
Yes. Every milk-contact part should be washed after every pumping session. Shortcuts like “only rinsing" or reusing valves without washing invite bacteria and weaken suction as residue builds. Refrigerating unrinsed parts briefly may be a documented stopgap in some travel/work guides, but full wash before reassembly remains the standard.
My breast pump has black mold in the parts. What should I do?
Stop using affected pieces immediately. Mold in valves, membranes, or connectors cannot be safely bleached back to trustworthy on most consumer pump parts - replace the molded components (and tubing if milk or moisture entered it). Sanitize the rest of the kit after a full wash, and review storage: sealed damp bags, closed bins with droplets, or “quick rinses" are common mold triggers. If mold reached hard-to-clean seams, replacing the whole wearable set is often cheaper than gambling on hidden colonies.
How many times can you reuse pump parts without washing?
Official guidance for milk-contact pump parts is reuse only after proper cleaning-not multiple sessions on the same unwashed flange or valve. Some exclusive pumpers reuse a single set within one continuous “block" of sessions under strict timing and refrigeration rules described in specialized pumping resources; that is not the same as skipping wash for days. When in doubt, wash after every session.
How to clean breast pump parts is repetitive work, but the repetition is the point: milk film does not negotiate. Build a small, movable wash station, dry completely, sanitize when your baby’s health calls for it, and replace anything cloudy, torn, or mold-stained without debate. Your pump keeps output stable when the hidden pieces stay as clean as the bottles everyone already watches.