
Gaming has progressed from a single-player activity to a lively community-based experience; hence, the sharing of games play has become an essential element of that progress.
No matter if it is the demonstration of your abilities, a request for feedback, or just the amusement of others, the recording of gameplay is not that hard anymore.
In this guide, we'll study the advantages of recording gameplay, know how to record gameplay on PC, identify the need to select the right recording software, give tips on optimizing your setup, and provide a step-by-step guide to start recording your gameplay on PC.
Part 1: What Is The Reason For Recording Your Games?
The act of recording gameplay is extremely advantageous as it would yield a variety of benefits. Besides, it allows you to get the best out of yourself and thus can be used as a tool for improvement. Through the analysis of your gameplay, you can find the areas that you could improve, learn from your errors, and thus, establish new strategies.
Besides, secondly, you can use your gameplay as a means of communication with other gamers, as well as, you can create a community around your content and sometimes provide tutorials or guides for others to learn from.
Part 2: Choosing the Right Recording Software
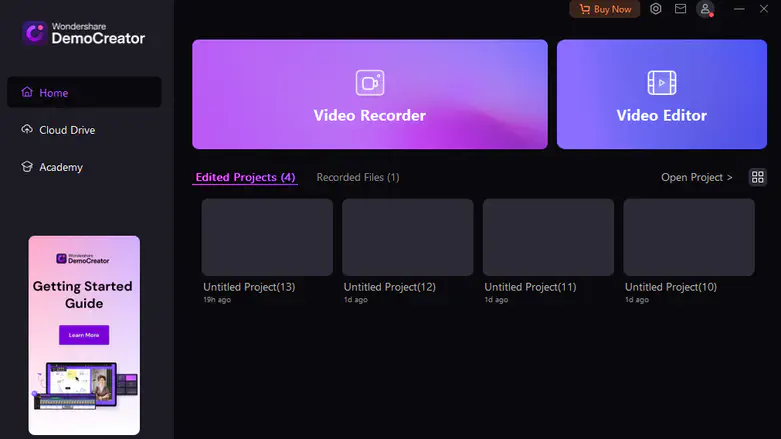
Before you pick a recording software, you should think about features, price, and ease of use. There are quite several options, but Wondershare DemoCreator is the one that has the best of both worlds; it is a complete solution for recording gameplay and is undoubtedly the best screen recorder. Through its user-friendly interface, high-level features, and low price, DemoCreator helps you to record, edit, and post your game videos effortlessly.
Part 3: Setting Up for High-Quality Recording
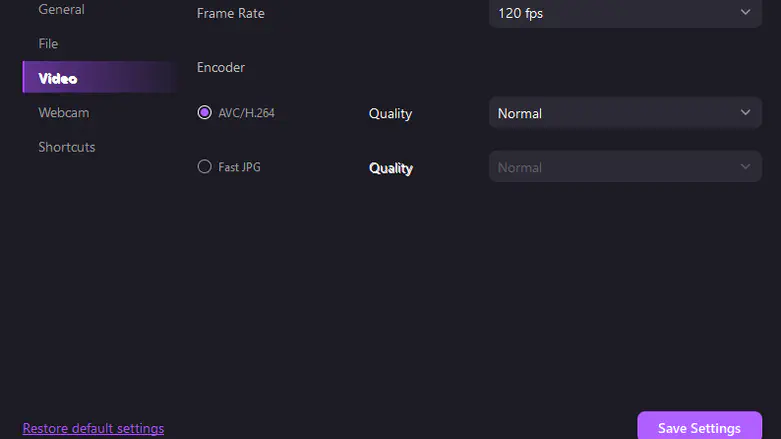
Before starting the recording, it is very important to have your PC setup prepared so that you can get the most out of it. This entails the need for having the right hardware, adjusting the software settings to get the best results, and the reduction of the number of applications that run in the background which might affect the quality of the recording. Besides, a good recording set-up will also help you to eliminate distractions which will be an advantage for your skill analysis.
Part 4: Recording Your Gameplay
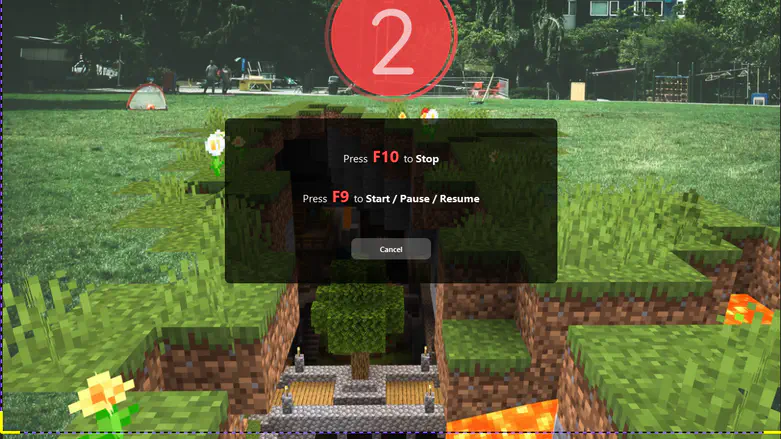
The first step is to get all your equipment ready, after which recording gameplay on your PC will be a simple task. The same recording procedure is followed by most software, including Wondershare DemoCreator. Just set it up the software, modify the recording settings as per your choice, and then begin the recording.
DemoCreator has special features that enable you to adjust the recording settings according to your requirements and to use the editing tools, that are included in the program, to make your recording experience more suitable for your needs.
Part 5: Editing and Enhancing Your Gameplay Videos
After you have successfully recorded your gameplay, you need to remove the boring and improve your footage to make it more interesting for your viewers. The elementary editing methods can be a great help in the improvement of the total quality of your game videos.
The most common video editing techniques are trimming out the unnecessary footage, adding the transitions between the scenes, the overlays or text to provide context, and the audio quality fixing.
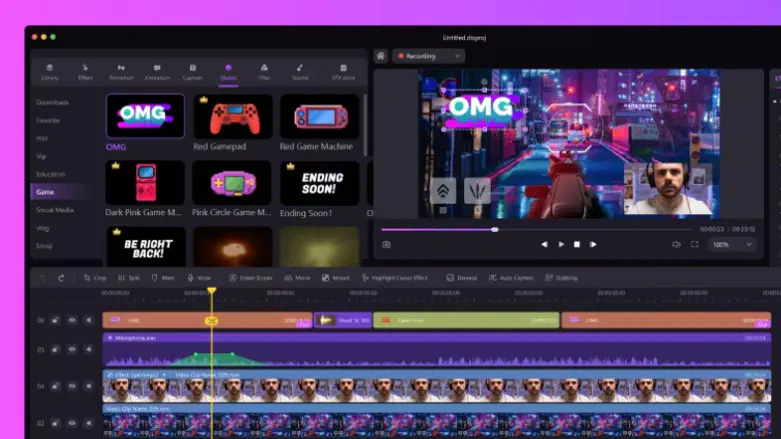
Wondershare Democreator is a software that provides gamers with a variety of editing tools that are specially made for them. The DemoCreator program makes it possible to change the raw gameplay video editing to a fine-tuned result in a short time. The demo structures allow you to change the video structure to a professional one. You can put in the annotations, captions, and even background music so that your content gets more informative.
Whether you are using the software of your choice or not, some editing tips are valid for all software. Maintain the continuity and pace of the video by keeping your edits brief and to the point. The voiceovers should be clear and the sound effects should be balanced. You should pay attention to the audio levels to make it happen. And, again, do not forget to review your changes before you make them final. Thus, you will be sure that all looks and sounds are as they should be.
Part 6: Sharing Your Gameplay with the World
With your gaming videos edited and refined, it's now time to show them to the world. There are many websites and media channels for posting gameplay videos, for instance, YouTube, Twitch, and other social media sites. Every platform has its specific target audience and features, thus it's important to choose the one that perfectly complements them.
When sharing your gameplay videos, be sure to optimize them for each platform. This includes writing compelling titles and descriptions, using relevant tags and keywords to improve discoverability, and engaging with your audience through comments and social media interactions. Additionally, consider promoting your videos through collaborations with other creators or sharing them in relevant gaming communities to reach a wider audience.
Conclusion
From recording your gameplay to sharing it with the world, the journey is filled with opportunities for creativity and connection. Whether you're a casual gamer looking to share your favorite moments or a content creator capturing gameplay on PC, recording and sharing gameplay videos is a rewarding endeavor.
As you embark on this journey, don't be afraid to explore different recording software and editing techniques to find what works best for you. With its versatile features and user-friendly interface, Wondershare DemoCreator is an excellent choice for gamers looking to capture and share their gaming moments effortlessly. So grab your controller, hit record, and let your gaming adventures unfold for the world to see.